If you’re eager to capture the thrilling experience of skydiving, a well-set-up camera helmet is essential. This guide will help you understand the key components and best practices for creating a successful skydiving camera helmet setup.
1. Choosing the Right Camera
When it comes to skydiving, the camera you choose plays a significant role in capturing incredible footage. Popular options include GoPro cameras, which are lightweight and durable, making them perfect for the high-speed environment of freefall. Look for models with high-resolution capabilities, such as 4K or 1080p, to ensure your adrenaline-filled adventure is vividly documented.
Another great option is the Insta360 ONE R, which offers an impressive 360-degree camera feature. This allows you to capture the entire skydiving experience, from your own perspective to all the breathtaking views around you. Whichever camera you choose, make sure it is well-reviewed for its stabilization features, as smooth footage is crucial for dynamic activities like skydiving.
-
- Investigate camera resolution (4K or 1080p recommended).
-
- Consider weight and size—go for lightweight models.
-
- Check for high stabilization features to avoid shaky footage.
-
- Read reviews to find the best-suited model for skydiving.
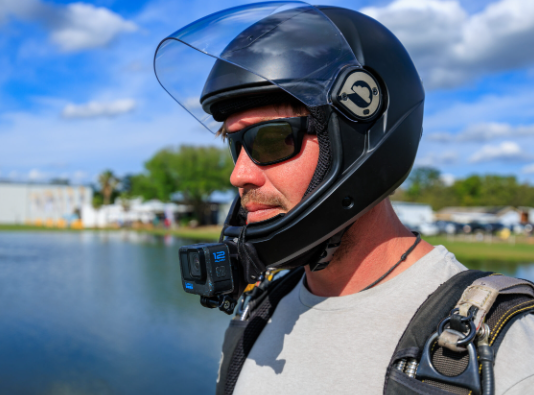
2. Mounting the Camera Correctly
Mounting the camera securely on your helmet is essential for both safety and achieving the best footage. Most skydiving helmets are compatible with various mounting solutions, like adhesive mounts or straps. Ensure that the mount is able to withstand strong winds and turbulence during freefall, so a sturdy adhesive mount generally works best for stability.
Furthermore, it’s vital that the camera is positioned at the right angle. Experiment with the tilt and rotation of the camera to ensure you get the full experience captured. A common setup is to have the camera the forward-facing so that it captures your expression as well as the environment around you during the jump.
-
- Choose a secure mount type (adhesive or strap).
-
- Test the stability by shaking the helmet gently.
-
- Adjust the angle for optimal footage before each jump.
-
- Ensure no obstacles obstruct the camera’s field of view.
3. Ensuring Safety and Functionality
Safety is paramount when skydiving—and this includes your camera setup. Always double-check that your camera is securely attached to your helmet before each jump. Regularly inspect your gear for signs of wear, particularly on mounts and straps that might weaken over time.
Additionally, practice using the camera before diving. Familiarize yourself with its settings, such as starting and stopping recording, optimizing video resolution, and using any pre-programmed features. This will ensure that you can focus on the actual skydiving experience rather than fumbling with gear during the jump.
-
- Inspect all equipment for wear and tear.
-
- Perform a functionality check before each dive.
-
- Familiarize yourself with camera controls before jumping.
-
- Keep your helmet clean to maintain visibility and stability.
4. Post-Jump Footage Review
Once you land safely, it’s time to review the footage you’ve captured. Many modern cameras come with built-in Wi-Fi, allowing you to transfer the footage to a smartphone or computer instantly. Take notes on the best clips, and mark any areas where adjustments might be needed for future jumps.
Editing your footage is key to showcasing the thrill of skydiving. Use editing software to cut out unnecessary parts, add music, and enhance the video quality. There are several user-friendly software options, such as iMovie for Mac users or Adobe Premiere Rush for a more comprehensive experience.
-
- Transfer footage to a device immediately after landing.
-
- Keep notes on what worked and what didn’t during the jump.
-
- Edit the footage for clarity, music, and narration.
-
- Share your final edit with friends and fellow skydivers!
Setting up a camera helmet for skydiving is an exciting way to capture the thrill of the jump. By following this guide, you’ll ensure your footage is both high-quality and safely recorded. Remember to consult experienced skydivers or professionals if you have questions about gear and safety. Happy jumping!